Setup git commits and authentication with multiple GPG keys and YubiKeys
•8 minSince I worked as an architect in the compliant financial industry, I have been signing my git commits so that people cannot impersonate me in source code. I have always defaulted to a single GPG personal key that I could also use for both personal and work. But suddenly I needed to juggle two keys.
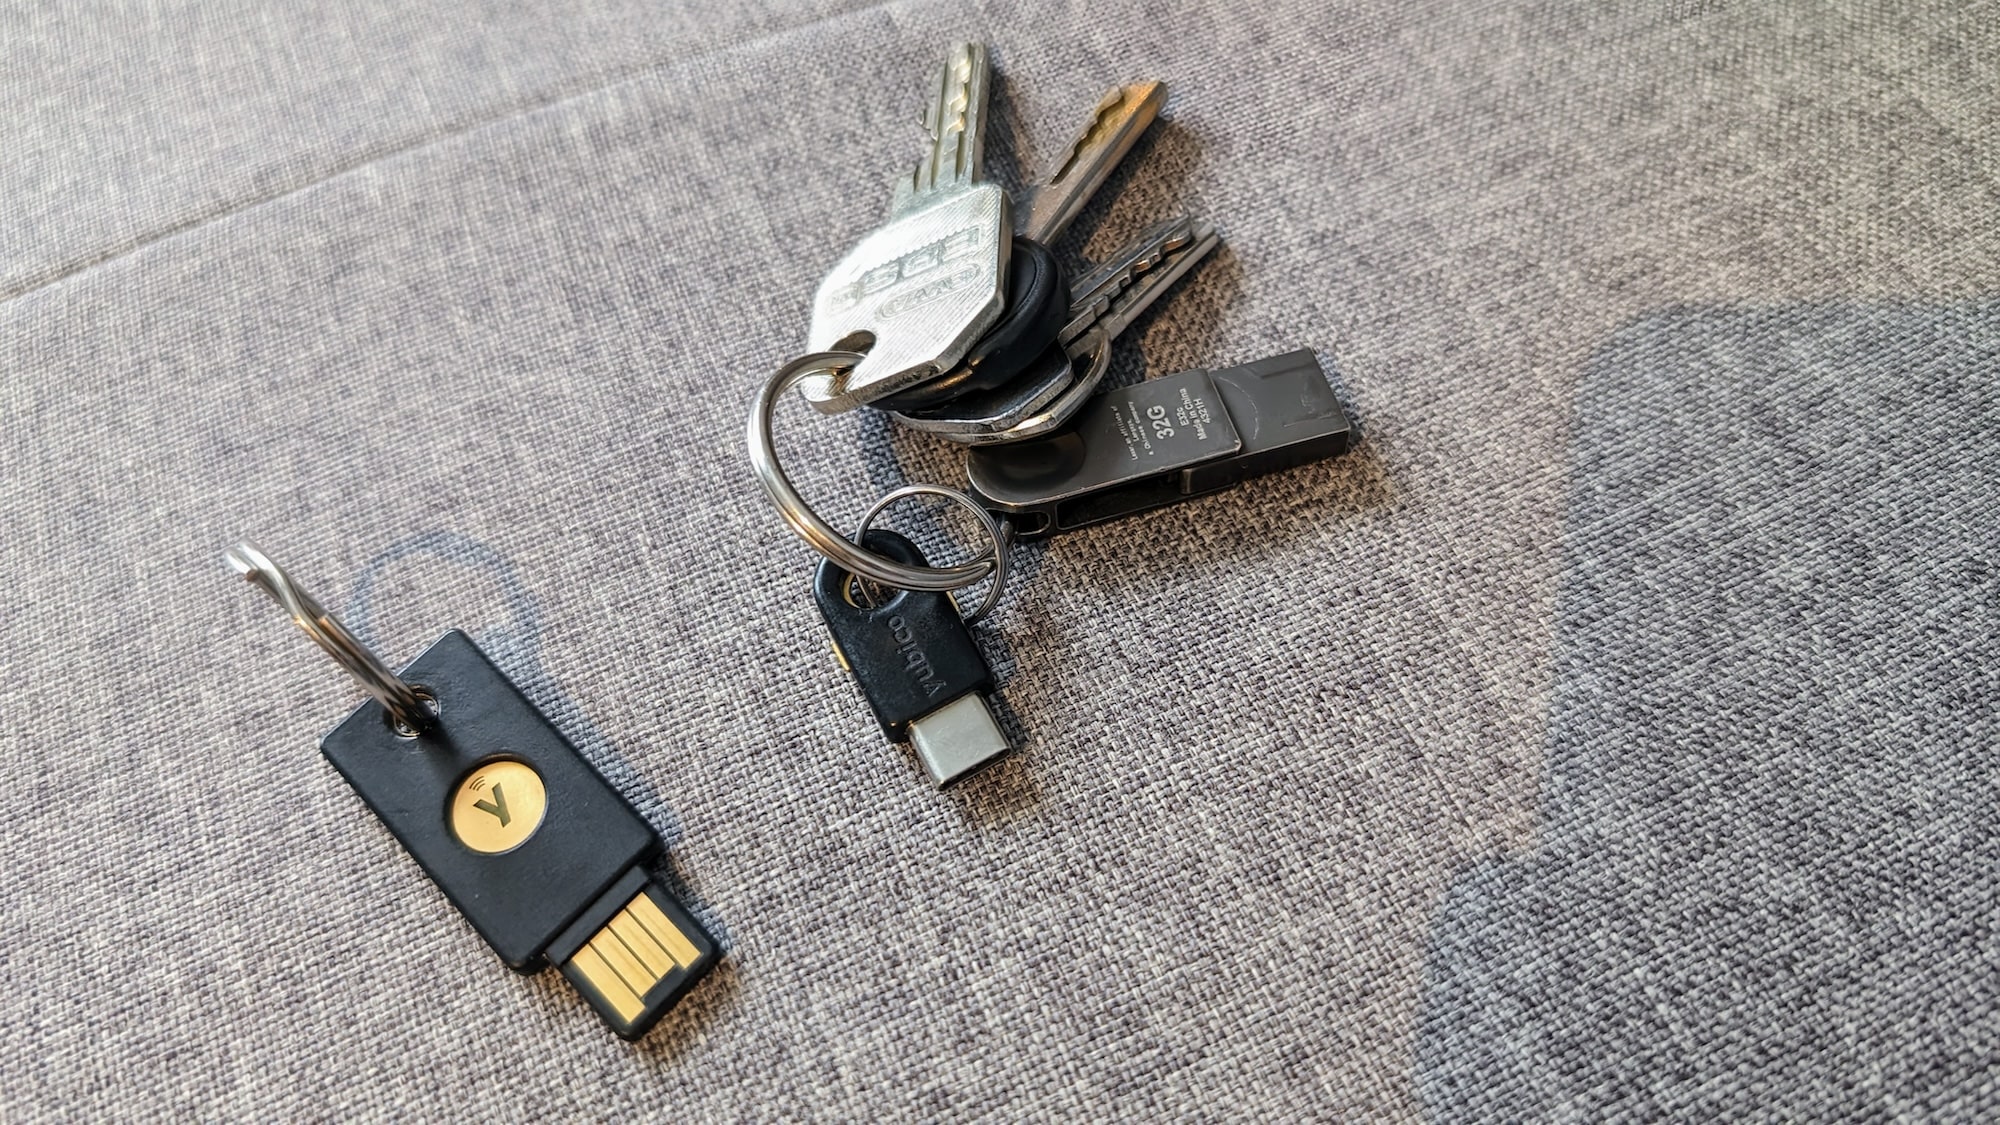 Separate YubiKeys for personal and work use
Please note that technically, it is completely possible to juggle multiple GitHub users for commits without any GPG and YubiKeys. This article is only applicable if you have multiple GitHub accounts setup with signed commits.
Result preview
All the steps below describe how to ultimately end up with a green “Verified” badge for my work commits with setup:
❯ gpg --list-secret-keys
[keyboxd]
---------
sec>  rsa4096 2018-05-27 [SC]
      121E4BXXXXXXXXXXXXXXXXXXXXXXXXXXX
      Card serial no. = 0006 121XXXX
uid           [ultimate] Julie Ng <redacted>
ssb>  rsa4096 2018-05-27 [E]
ssb   rsa2048 2019-09-28 [A]

sec>  rsa4096 2024-01-13 [SC] [expires: 2026-01-12]
      5F9DE7XXXXXXXXXXXXXXXXXXXXXXXXXXX
      Card serial no. = 0006 1095XXXX
uid           [ultimate] Julie Ng <redacted@microsoft.com>
ssb>  rsa4096 2024-01-13 [E] [expires: 2026-01-12]
ssb>  rsa4096 2024-01-13 [A] [expires: 2026-01-12]
Note that both key are on different Card serial no.s and that the ssb> with > indicating that the key is on a smartcard, i.e. not on my computer. See gpg manual for details.
Use case and problem
Increased security
The basic use case is that I have two (2) accounts I need to juggle:
- a personal account for personal open-source work that is public on GitHub.com
- a work account that is managed by Microsoft for any internal repositories
The problem is that my work account is managed by GitHub Enterprise Managed Users (EMU), which means the identities are synced to an external identity provider.
The account is completely managed in our internal Entra ID tenant, which of course does not include my personal email. Because the account is externally managed (and merely synced to GitHub enterprise), there is no possibility for me to “verify” my personal email, so commits signed with my personal email always show up as “unverified”:
 "Unverified" commit when signed with personal email
This is clearly visible via the yellow-ish “Unverified” badge as well as my username not having a photo. It is a problem for pedantic Julie to have “unverified” associated with my work. So I fixed it by adding a second key
Why a second YubiKey?
I need a second physical YubiKey because my existing key already is already full. YubiKey’s OpenPGP application can only hold up to three private keys, which are separate private keys for encryption, signing, and authentication.
Why a USB Type-A key?
I have two different YubiKey types because originally I bought the Type-A version for use with a work computer, a Windows Surface computer without USB-C. I abandoned the PC and use my personal Mac, which is company managed for work. Now I need a USB adapter to use this key. But I’m too cheap to buy another YubiKey.
Generate GPG keys with work email
Step 1 - Generate new keys
As noted above, I bought the Type-A key ages ago. I had a private key on it. But it was borked. So I just generated new ones following Okta: Developers Guide to GPG and YubiKey
gpg --full-generate-key
I created the new key using my work email address. See the Okta guide for full steps.
Step 2 - Move private keys to YubiKey
See the Okta guide for full steps.
gpg --list-keys
gpg --edit-key <KEY-ID>
gpg > keytocard
Step 3 - Export public key and add to GitHub
Now the private keys are stored on the physical key, which we’ll need to sign our commits. We want to share the public key with GitHub so they can verify our signatures. First we export it.
gpg --armor --export USER@COMPANY.com > public.key
And then add copy and paste contents from public.key via this documentation: Adding a GPG key to your GitHub account.
Then delete the file rm public.key for good housekeeping.
Step 4 - Configure repository with work user
The majority of my work is public open source or personal, so my global git settings use that email.
So I have to configure each internal repository manually by going to the internal project folder and configure git using the --local flag:
git config --local user.email <WORKEMAIL@microsoft.com>
git config --local user.signingkey <KEYID>
git config --local commit.gpgsign true
My name is the same, so I only need to configure the email and specify the work specific <KEY-ID>. Voila, you’re done and whenever you make a git commit, you will be prompted to insert your YubiKey and unlock it with the PIN.
Configure authentication with multiple accounts
Now we can sign commits on our local workstations. But our multiple accounts will also need multiple authentication mechanisms. How do we juggle that?
First, you first need to create personal access tokens for both your personal and work accounts on the GitHub website. After that there are multiple options to juggle the tokens.
Warning - NEVER store your personal access token in your repository’s remote url
Never store tokens in a URL. Although it works it is clearly visible in plain text and not secure. There are many bad articles on the internet that suggest this awful method:
# Do NOT do this - insecure!
git remote add origin https://<USER>:<PAT>@github.com…
I have also seen this in my work with customers. Do yourself a favor and take some time to understand how configuration, authentication and security work for git. It is one of those technology/company agnostic skills that’s valuable for life. So invest the time.
Option 1 - git-credential-manager
The most straight-forward way that works for all git providers (not just GitHub) is to use git-credential-manager (GCM). It works and integrates will with operating system password managers. But be sure to configure it to use encrypted stores, also for caching. And the real challenge is managing multiple users. See this GCM documentation on how to manage multiple users, which is fairly complicated.
I do not use git-credential-manager because I want to use my YubiKey and there are better otions for Mac users. So this option is not for me.
Option 2 - GitHub CLI
If you only need GitHub, a newer and better way is to use the GitHub CLI, which will automatically cache your credential security (if possible) Cache GitHub credentials.
I need more than GitHub. And I want to use my YubiKey. So this option is also not for me.
Option 3 - Permanent authentication with encrypted .netrc
From a great developer experience perspective, I do not want to juggle multiple credentials. It should just work and be secure. This setup requires understanding that under the hood, git uses curl. And curl supports netrc. The git-credential-netrc helper is built-in and does not require additional software like the other options described above.
Although I do not need additional software, I do need to encrypt the .netrc file:
# Encrypt the .netrc file (using personal key in example)
gpg --encrypt --recipient <user@email> -o .netrc.gpg .netrc
and then configure git to use this file:
git config credential.helper = 'netrc -f ~/.netrc.gpg -v'
Read on to learn about what’s in that .netrc file.
Managing multiple accounts
Identity based authentication is always complicated. If you read the official git doc on configuring credentials you’ll understand what the GCM and GitHub CLI is doing under the hood - setting custom configurations with hostname or path matching. If you are using GitHub enterprise server, you’ll have a separate host, e.g. github.mycompany, which is easier to configure. Generally, if you have GitHub Enterprise Cloud, you will need path matching because both use github.com.
Updated 20 January 2024
This article has been updated to fix problems with my workflow. Be sure to include machine github.com twice in the .netrc file and configure git default credentials as described below.
# .netrc (when decrypted)
machine github.com
  login <personal-user>
  password <personal-pat>
machine github.com
  login <work-user>
  password <work-pat>
1 week later… more complicated than thought
I did not thoroughly test. I discovered it worked as an unencrypted .netrc, but not as an encrypted .netrc.gpg, which was maddening to debug.
Ultimately I added the -d flag to the netrc credential helper and saw it could not pick up the user when I only listed machine github.com once. Based on that I made a few changes to get all of this working.
Auto-toggle users
- Added second
machine github.comline to the.netrcfile - Specified default users in the global
~/.gitconfig:
# .gitconfig - comments for article only
[credential]
    helper = netrc -f ~/.netrc.gpg -v
    # default to prsonal user
    user = julie-ng
    # specify credential helpers should match paths, not just hosts
    useHttpPath = true
# specify work user for work specific repos
[credential "https://github.com/<WORK_ORG>/*"]
    user = <WORK_USER>
Finally in my desperate debugging, I had also specified the user explicitly in the git remote URLs, for example:
# if not using .gitconfig above
git remote set-url origin https://<WORK_USER>@github.com/<WORK_ORG>/…
I have sinced removed the users from my remote URLs now that everything is in the global git configuration. Finally 😅
Conclusion
So we jumped through all the hoops of…
- creating multiple GPG keys
- storing our private keys on multiple YubiKeys
- configuring out git clients to be able to handle multiple authentication credentials
…just so I can get a green “Verified” badge and see my photo 😅
 "Verified" commit when signed with work email
In all seriousness, the hoops are worth it to me to ensure no one can impersonate me and if my someone got access to my computer it’s impossible for the hackers to get access to credentials without access to physical YubiKeys and the PINs to unlock them.